Report (only SCADA)
Reports are implemented in PROCON-WEB via a ReportControl and therein embedded CrystalReports (SAP). This requires a license to create Crystal Reports and knowledge of the structure of SQL databases and SQL queries. In the Designer, the associated reports can be selected for the ReportControl and the dialogs for adding the dynamic report parameters (e.g., time selection) can be configured. The ReportControl is only available for Windows servers (SCADA)! The GTI offers the creation of complex reports as a service.
OLEDB connection
To create, change or delete OLEDB connections to a database, the item “Report - OLEDB connection” must be opened in the project tree.

After right-clicking on the empty area that appears, “New OLEDB connection” is selected. The name of the connection can be changed in the line that appears and the connection wizard can be opened by clicking on the button in the “Connection string” text field.
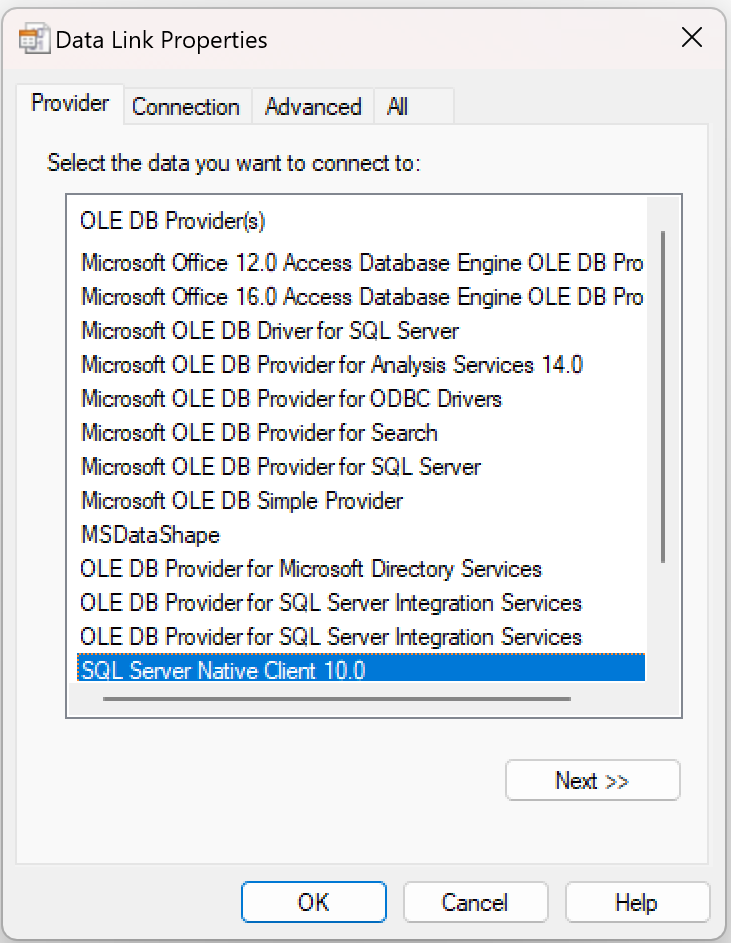
This wizard helps to create a connection to a data source on which the report relies for processing and displaying the data. First, a so-called provider can be selected. A provider is available for many different data sources, which enables access to this data (e.g., for Oracle databases, SQL servers, etc.). Further information on the data source (server / database name) and login information can then be entered if access to the data sources is protected with a password. Depending on the provider, there are additional settings that can be changed if required (this is usually not necessary, but these values can still be changed if necessary). After clicking on “OK”, the information entered is converted into a connection string that contains all the information and can be processed by the report.
Report configuration
If a connection has been selected, the next item “Report configuration” can be selected. Right-click and select “Add report” to open a file selection dialog in which a report file (* .rpt) can be selected. If a report has been selected, a new line is created for this report. In addition, subordinate lines are created for all parameters that the report contains.


Immediately after adding the report, you will see a red warning next to the name of the report. This indicates that a standard OLEDB connection is still selected. This value has yet to be changed to a valid connection. To do this, you can click on the button in the cell under “OLEDB connection”, which opens a selection dialog in which all existing connections are displayed, and the desired ones can be selected by double-clicking or clicking on “OK” (after previous selection) can. Next to the name is the “Report” column, in which the path and file name of the selected report file can be found. Next to it there is a checkbox that can be used to select whether the report should be saved in the project database.
If the check mark is set, the report is read from the project directory in the runtime.
If the check mark is not set, the report is read from the set path. This can be an advantage if the report changes after the configuration and can be exchanged afterwards. The path can be changed by clicking in the cell if the report is later at a different location
Settings for the parameters can then be made:
There are several columns here:
Column |
Description |
|---|---|
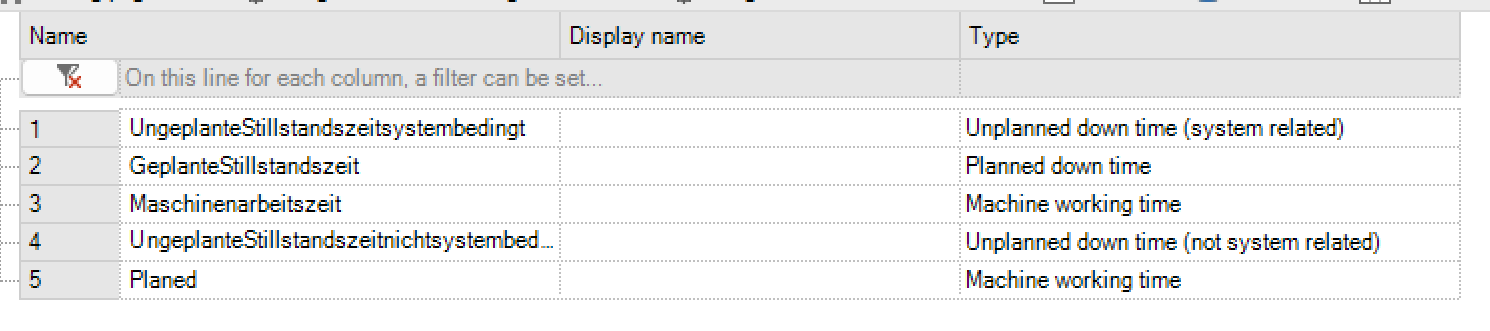
Name |
The name of the parameter. This is used to transfer the report, so it should not be changed. |
Type |
The type of the parameter. By changing the type, the control element that appears when entering parameters changes (e.g., a calendar control appears for Date, etc.) |
Input text |
This text defines what is next to the input control. This can be used as a hint for input (e.g., “Enter batch number”) |
SQL command |
If as the input control element “Combo” or “ListView” is selected, this field is activated. Then an SQL command can be entered which is used to fill in these elements. In this way, a combo box can be filled with predefined values to make long entries expandable. |
Optional |
By ticking off the box “Optional”, the input for a parameter can also remain empty, so no value is required. |
Start and end time parameters |
If there is a period in the report that is defined by a start and an end parameter, these can be marked with these two ticks. Later, by simply clicking on a button, you can scroll through different time ranges, and you do not have to re-enter the parameters |
Time as a string |
If a report for generation is based on time information, which is available as a string in any format, this tick can be clicked. However, only if “Date” or “DateTime” has been selected as the parameter type. A calendar control element appears, which allows the selection of a time. The selected date will then be converted to another format. What this format looks like can be specified in the next field. |
Date format |
If an individual date format is used, a pattern of how this format is structured can be defined in the last column. By right-clicking on the complete line and selecting “Check date format”, you can test which format will generate the entered pattern. To do this, the current date is converted according to the pattern and output in a box. For example, the input “dd / MM / yyyy” generates the output “07/05/12” after a check. |
Parameters can be added or removed by right-clicking on a report. The adding of parameters is intended to filter the filling of dynamic control elements that are filled by an SQL command (“Combo”, “ListView”) even further. For example, an additional parameter “system number” can be created. This parameter can then be used in the SQL command (eg: SELECT * FROM Production WHERE Plant_ID = {? Plant number}). It will then be replaced with the selected value before execution. Please note that the parameter name must be in curly brackets, preceded by a question mark ({? Parameter name})Parameters can be added or removed by right-clicking on a report. An example of this at the end.
Profile configuration
A profile must then be defined. To do this, open the “Profile configuration” item and right-click to add a profile. A red note appears again next to the name, as new profiles refer to a standard report. Clicking on the button in the second column (“Report”) opens a selection dialog in which a report can be selected. Then an additional line is added for each parameter in which settings can be made.
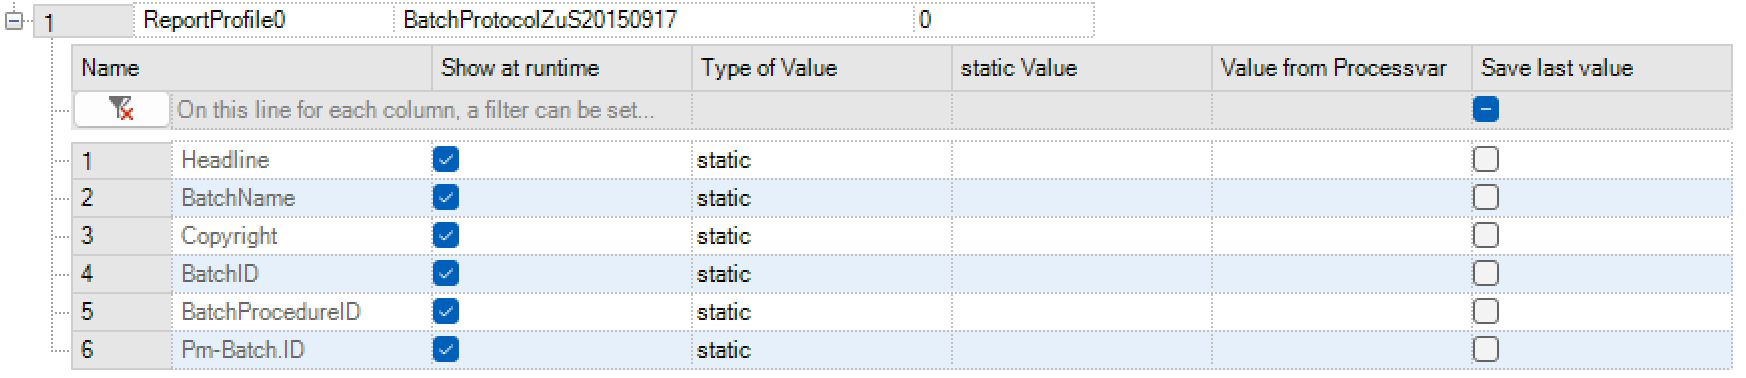
In the upper line, a user level can also be specified, which the user must have at least to be able to see the profile at runtime. Further down there is a line for each parameter with the name column, as well as a checkbox (“Display at runtime”) and a field for a value. If the tick in the checkbox is removed, the value in the “Value” field is always and unchangeably transferred to the report as a parameter value during runtime. This results in the following possibility: A report has one or more parameters which should always remain the same and so do not have to be entered every time (heading, header / footer …). If the check mark for these parameters is not removed and something is entered in Value, this is displayed as a preselection in the input field at runtime.