Tags
Overview
The tag overview allows you to manage the tags of the current project. Tags can be imported from a previously configured driver connection or added, edited and deleted manually.
Navigation

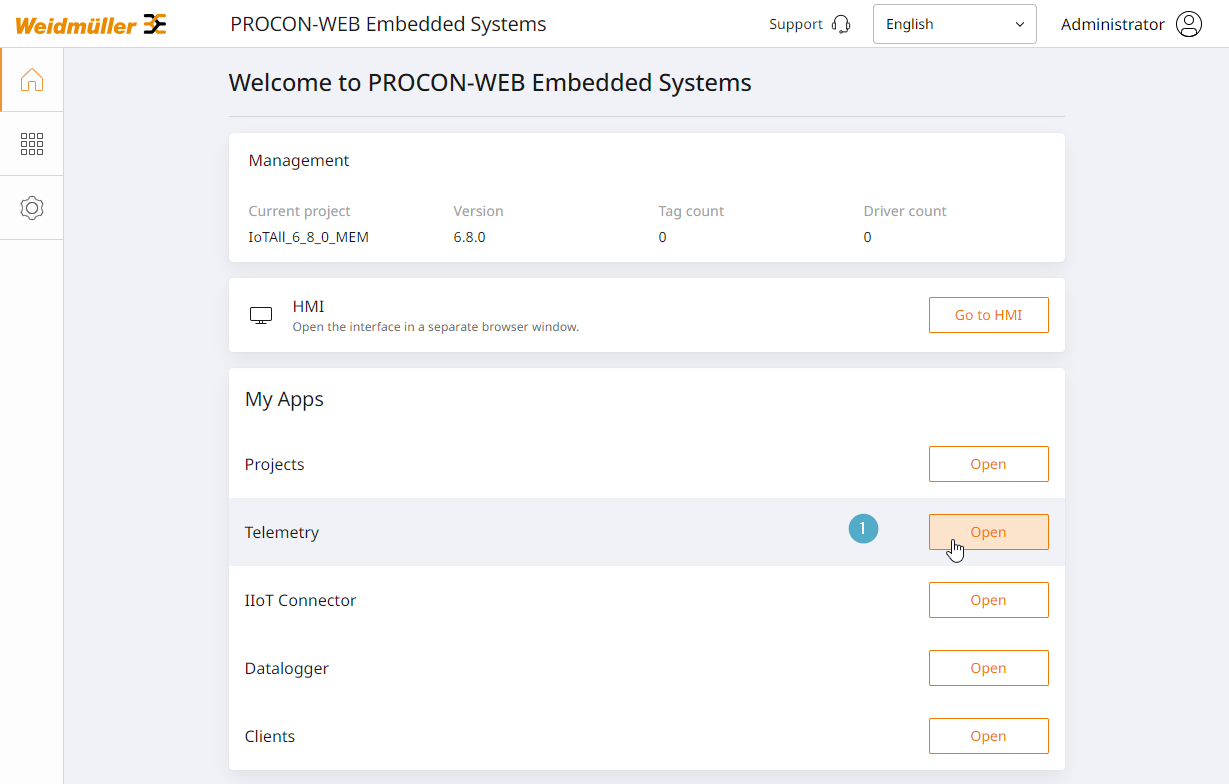
Telemetry (1) can be called up via the start page.

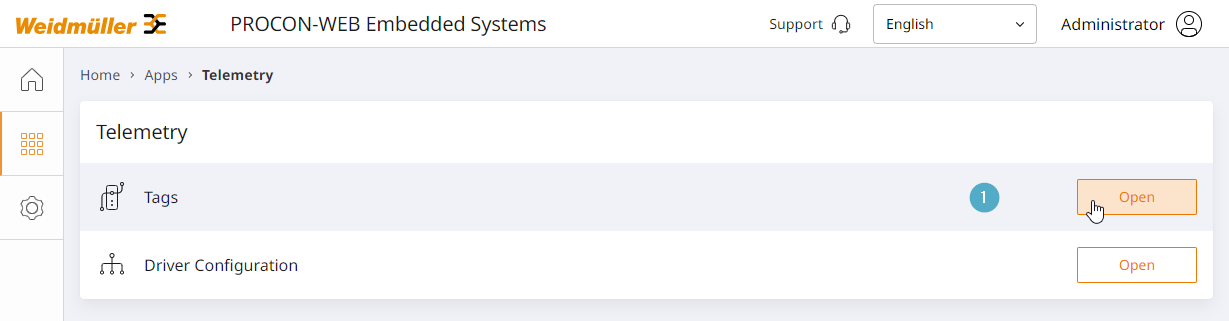
The sub-items Tags (1) and Driver settings can be found here.
Tag overview

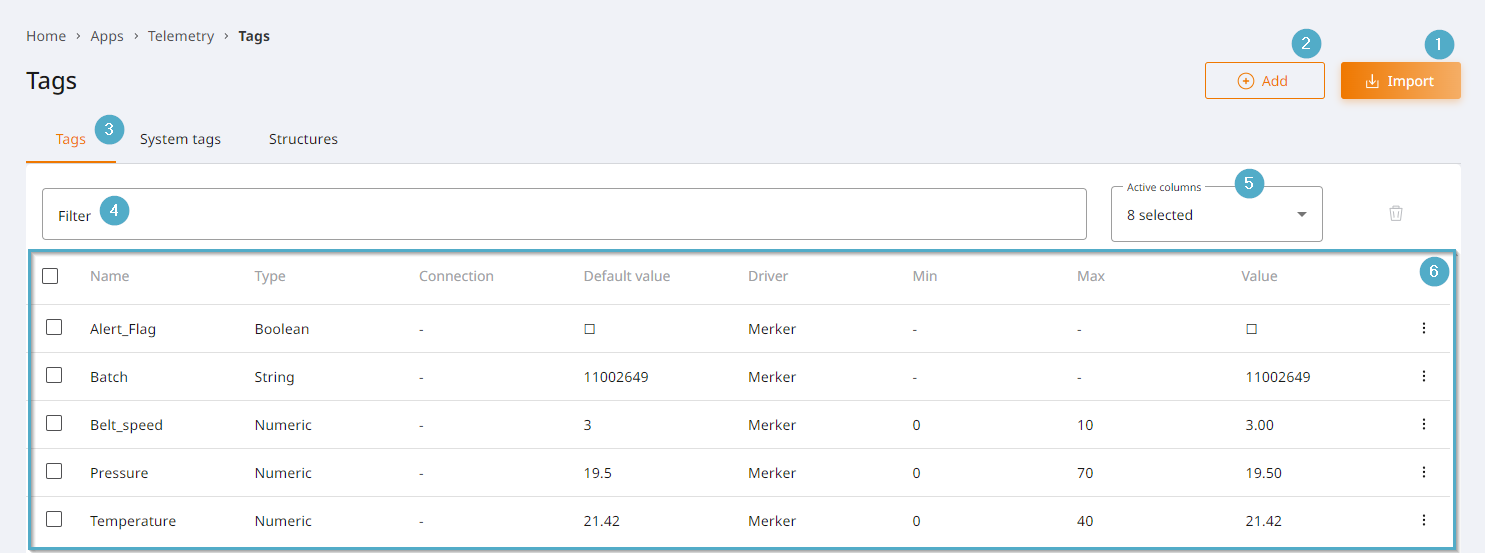
Import: Opens the dialogue for importing tags. Driver connections must first be configured for the import.
Add: Opens the dialogue for adding tags manually.
Tabs: Subdivision of tags into ordinary tags, system tags and structures. Click on the respective tab to open the corresponding overview.
Filter: Filter option for tags. If several filter criteria are entered, all criteria must apply to a tag in order to be displayed.
Active columns: Configuration option for the tag table. Activated columns are displayed in the table.
- Tag table: Tabular overview of all imported or manually added tags. It is also the entry point for editing or deleting a tag via the options menu at the end of the line of a tag entry. Depending on the configuration, the table contains the following information:
Name: Name of the tag.
Type: Type of tag: Logical, text or numeric.
Connection: Name of the driver connection via which the tag was imported. “-” is entered for manually added tags.
Default value: Default value of the tag.
Driver: Name of the driver used to import the tag.
Min: Minimum value of the tag from the tag configuration. Not the minimum value from the process connection.
Max: Maximum value of the tag from the tag configuration. Not the maximum value from the process connection.
Value: Current value of the tag.
Options menu: Entry point for editing or deleting tags.
Tag properties in detail
Properties of numeric tags
Tag name
The name of the tag must be unique. If a name is assigned twice, the system automatically appends a numerical suffix and increments it to ensure uniqueness. The suffix has the form of [Tagname]_n.
Tag type
The tag type of a numeric tag is always numeric and can no longer be changed once the tag has been created.
Sub type
Tags can also have a subtype in addition to the tag type. The available subtypes depend on the tag type. For example, numerical tags can also be of the resource counter subtype.
The subtypes have no effect on the behaviour of the tags within PROCON-Connect. However, this property is also sent to higher-level systems during transmission via the IIoT Connector, for example, and can be analysed there accordingly. ResMa® creates numerical tags of the resource counter subtype as a measuring point of the counter type, for example. For more information, see chapter Send tags to ResMa® as counters.
Array size
Number of values that this tag can hold. The value must be greater than or equal to 1. From a size of 2 or more, the tag becomes an array.
The array size determines how many tag licences the tag occupies. An array of size n occupies n tag licences.
If the change to the array size results in a licence violation, all changes to the current editing process are discarded and a notification is displayed informing you that the changes could not be made due to a licence violation.
Default value
Default value of the tag, which it assumes when the tag is created or when the tag server is restarted.
The default value must be within the interval of the Min and Max fields.
If a tag is added and a default value is specified, the tag initially adopts this value. Changes to the default value for existing tags are not written to the tag.
Min
Minimum value of the tag within the project. The value of the tag cannot fall below this value within the project. If an attempt is made to write a lower value to the tag, the value is raised to this minimum value and then written to the tag.
The minimum value must be smaller than the maximum value.
Details on Min and process Min are explained in the chapter Scaling of numeric tags.
Max
Maximum value of the tag within the project. The value of the tag cannot rise above this value within the project. If an attempt is made to write a higher value to the tag, the value is lowered to this maximum and then written to the tag.
The maximum value must be higher than the minimum value.
Details on Max and Process Max are explained in the chapter Scaling of numeric tags.
Decimal places
Number of decimal places for the value display.
The configurable value range extends from 0 to 10 decimal places.
Process Min
Minimum value that the tag can assume on the controller.
Details on Min and process Min are explained in the chapter Scaling of numeric tags.
Process Max
Maximum value that the tag can assume on the controller.
Details on Max and Process Max are explained in the chapter Scaling of numeric tags.
Scaling of numeric tags
The scaling is described by means of two value ranges.
Display of the scaled values in the system via the
Min
andMax
properties.Display of the raw values on the controller via the
Process Min
andProcess Max
properties.
The calculation is based on the following formula
Value = Min + Process Value * (Max - Min) / (Process Max - Process Min)
Example
10-bit digital-to-analog converter for temperatures between -100 and 100 degrees.
Transducer value range [0..1023] (Process Min, Process Max).
System value range [-100..100] (Min, Max).
Converter value 0
-100 + (0 * (100 - -100)/(1023 - 0)) = -100
Converter value 512
-100 + (512 * 200/1023) = 0.098
Converter value 1023
-100 + (1023 * 200/1023) = 100
Properties of logical tags
Tag name
The name of the tag must be unique. If a name is assigned twice, the system automatically appends a numerical suffix and increments it to ensure uniqueness. The suffix has the form of [Tagname]_n.
Tag type
The tag type of a logical tag is always logical and can no longer be changed once the tag has been created.
Array size
Number of values that this tag can hold. The value must be greater than or equal to 1. From a size of 2 or more, the tag becomes an array.
The array size determines how many tag licences the tag occupies. An array of size n occupies n tag licences.
Set True as default value
By default, logical tags are initialised with the value False or 0. If this option is activated, the tag is initialised with the value True or 1 by default instead.
The default value is set when the tag is created and when the tag server is restarted.
Properties of textual tags
Tag name
The name of the tag must be unique. If a name is assigned twice, the system automatically appends a numerical suffix and increments it to ensure uniqueness. The suffix has the form of [Tagname]_n.
Tag type
The tag type of a textual tag is always text and can no longer be changed once the tag has been created.
Maximum length
Maximum number of characters that the string written to the tag can contain.
The maximum length must be at least 1 and is open at the top.
Default value
Default value of the tag, which it assumes when the tag is created or when the tag server is restarted.
If a tag is added and a default value is specified, the tag initially adopts this value. Changes to the default value for existing tags are not written to the tag.
User-defined properties
User-defined properties can be added to tags. These user-defined properties are also sent when the tag definitions are transmitted via the IIoT Connector and can therefore be analysed by subsequent systems behind the connected MQTT broker.
Technically speaking, user-defined properties are key-value pairs. The key describes the name of the property. The value describes the specific characteristic that this tag assumes for the property.
Import tags
After clicking on the “Import” button, the dialogue for importing tags opens. The desired driver connection via which tags are to be imported can be selected here. If no connection is available, a driver connection must first be established via the “Driver settings” menu item.
The tags of the selected driver connection can then be browsed. Activate the checkboxes on the tags you want to import and click on the “Import” button in the dialogue. The tags are now added to the tag list.
Add tags manually
Click on the “Add” button to open the dialogue for manually adding tags. Configure the tag as required and close the dialogue by clicking on the “Save” button. The tag is now added to the tag list.
Edit tags
The entry point for editing tags is located in the options menu at the end of the line of the tag to be edited. First click on the options menu and select the “Edit” option.
The day editor dialogue opens. Here you can make the desired changes and then close the dialogue by clicking the “Save” button. The changes are applied directly.
If the changes to a tag result in a licence violation, all changes are discarded and a notification is displayed informing you that the changes could not be made due to a licence violation. This happens, for example, if an array is enlarged and this enlargement would exceed the number of licenced tags.
Delete tags
The entry point for deleting tags is located in the options menu at the end of the line of the tag to be edited. First click on the options menu and select the “Delete” option.
A deletion dialogue opens, which must be confirmed again. After confirming the dialogue, the corresponding tag is deleted. This process cannot be undone.
Send tags to ResMa® as counters
ResMa® briefly explained
ResMa® is a software from Weidmüller that collects data centrally using connectors and offers various evaluation and visualisation options to extract added value from the raw data. ResMa® is certified by TÜV Süd as energy data management software in accordance with ISO 50 001.
The intended use is diverse and includes, among other things - Use as energy data management software in accordance with ISO 50 001, - Process optimisation based on production/process data, - Data collection and provision for external evaluation options such as AI tools
PROCON-Connect can be used as a process link for ResMa®.
Resource counter in ResMa®
PROCON-Connect recognises numerical, logical or textual data types. ResMa® also recognises counters as a data type. ResMa® also links extended business logic to this data type, such as determining the average consumption. As an energy management system, ResMa® is therefore able to provide extended analyses for this data type.
Tag configuration for counters
In PROCON-Connect, a tag can be configured so that it is interpreted by ResMa® as a counter.
Strictly speaking, counters are a numerical data type that takes the current counter reading as its value. The “Resource counter” subtype can therefore be selected for numeric tags in the day editor.
This information is also transferred to the connected target system when coupled with the IIoT Connector function of PROCON-Connect. ResMa® analyses this data record and automatically creates the tag as a counter.